| Corrupted Sand-Swept Tomb | |

| |
| Access | |
|---|---|
| Coordinates | X: -860, Z: -4900 |
| Suggested Level | 86 |
| Reward | As follows:
|
| Battle | |
| Monsters | Flesh Eater [Lv. 86] Dart Flinger [Lv. 38] Dart Flinger [Lv. 88] Dune Beast [Lv. 92] Hidden Wall Trap [Lv. 86] Whirlwind Beast [Lv. 90] Saltrot Slavedriver [Lv. 91] Shambler [Lv. 88] Dustlion [Lv. 42] Dust Devil [Lv. 90] Dustling [Lv. 88] Sandshifter [Lv. 87] Locust Swarm [Lv. 87] Dune Gladiator [Lv. 90] Dune Raiser [Lv. 90] The Hungry [Lv. 90] |
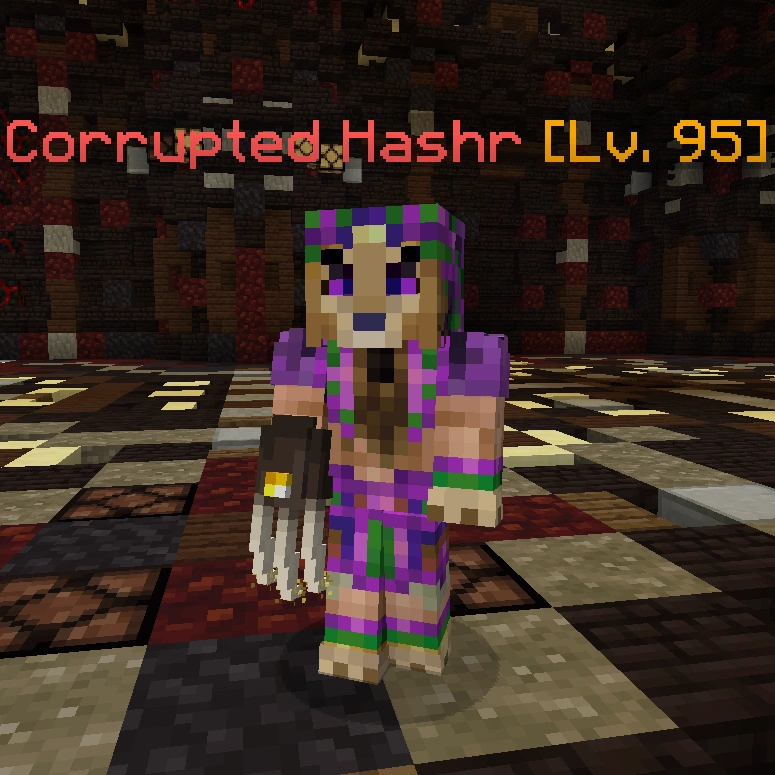
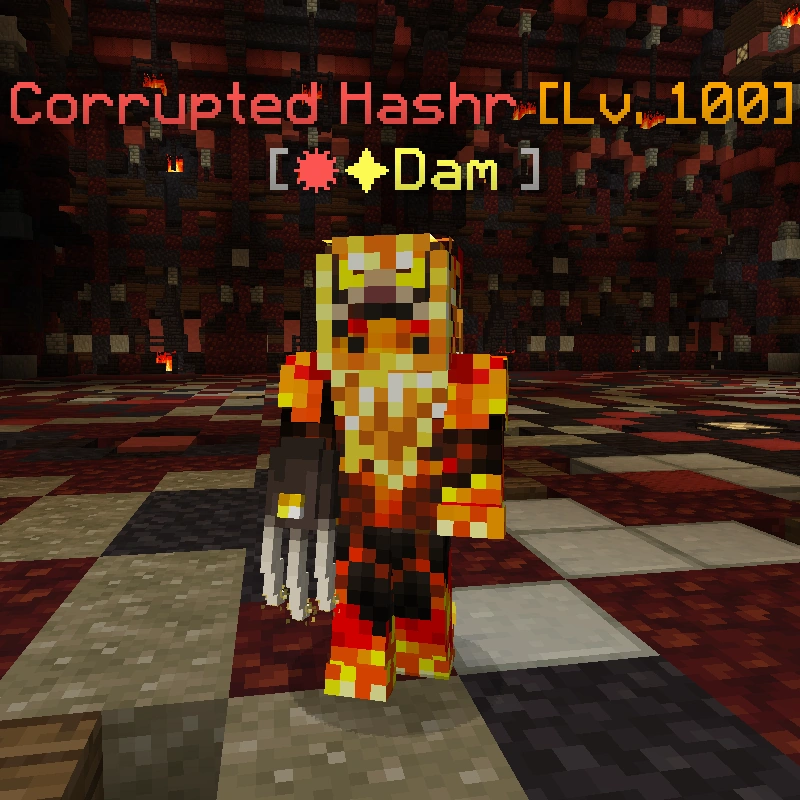
| Boss | Corrupted Hashr [Lv. 95] |
| Dungeon | |
| Battle | 85% |
| Puzzle | 0% |
| Parkour | 15% |
This dungeon has a non-corrupted variant; see Sand-Swept Tomb.
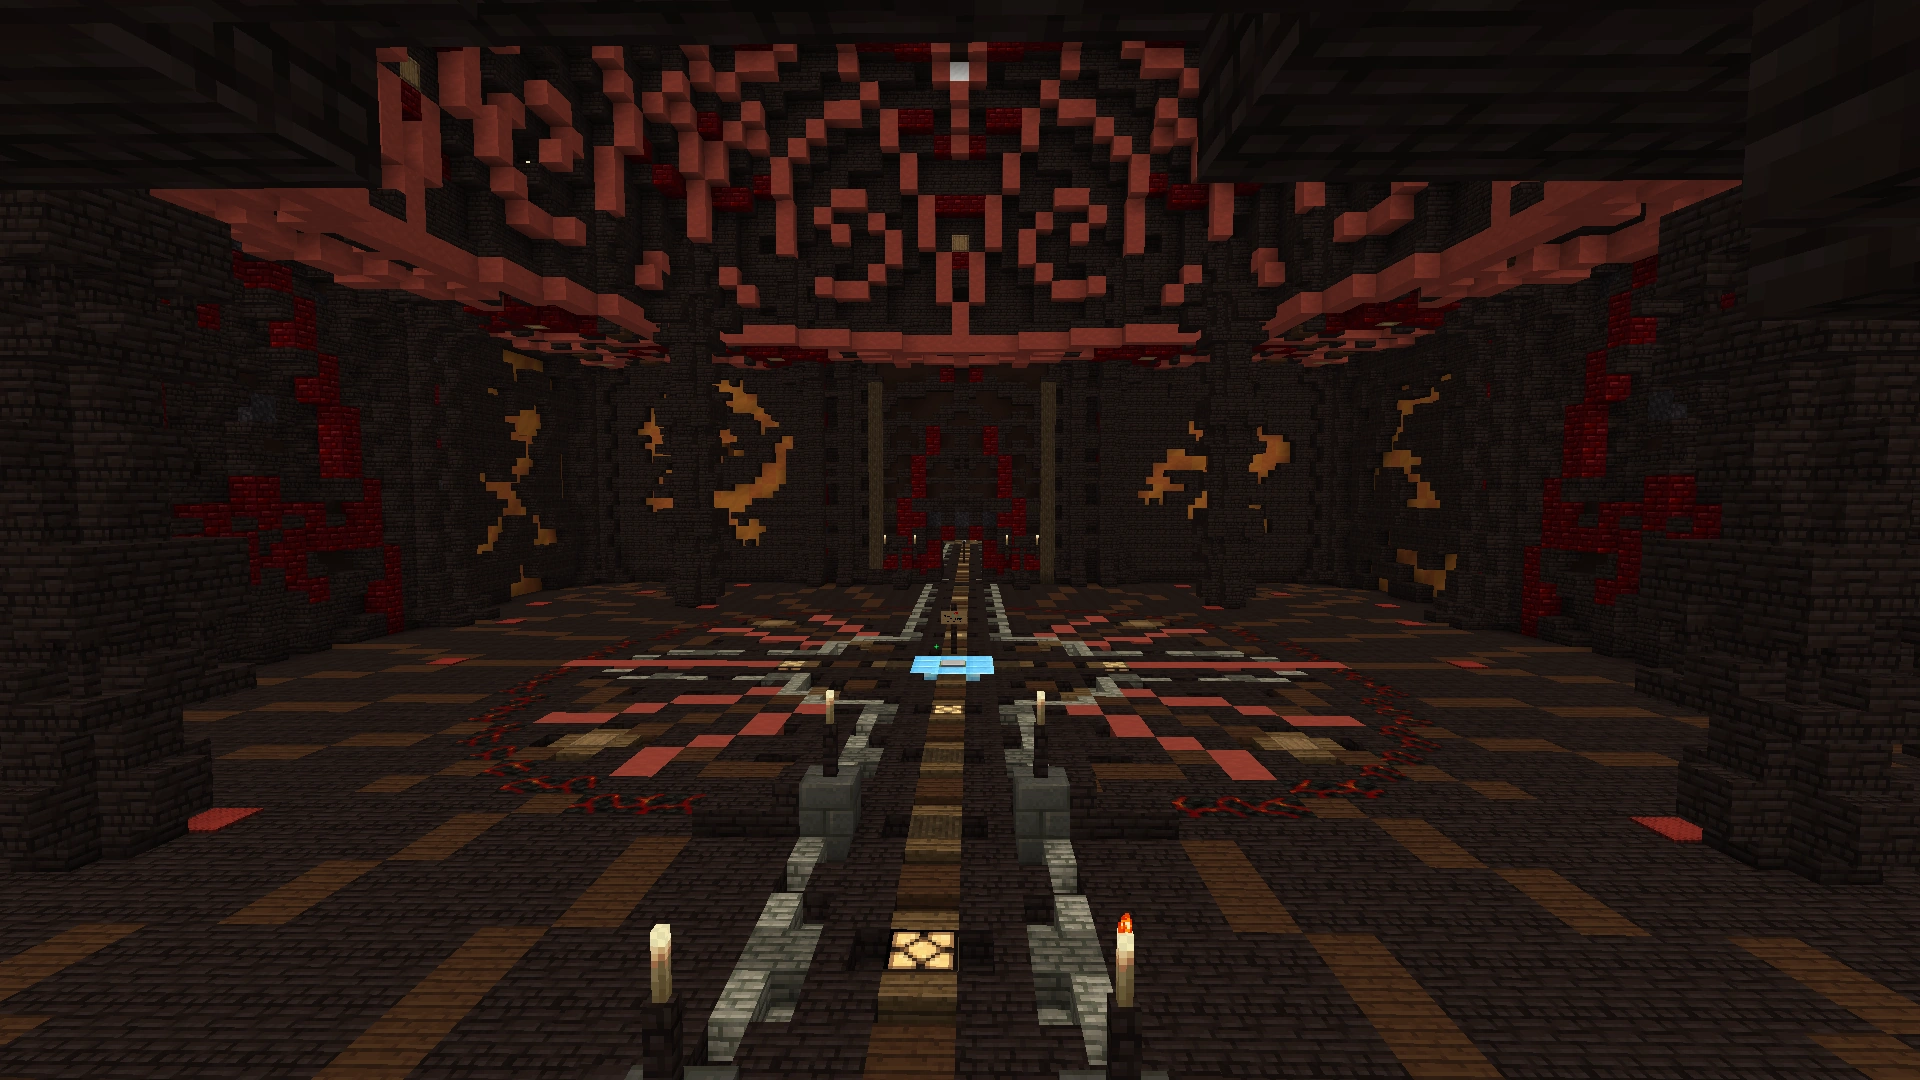
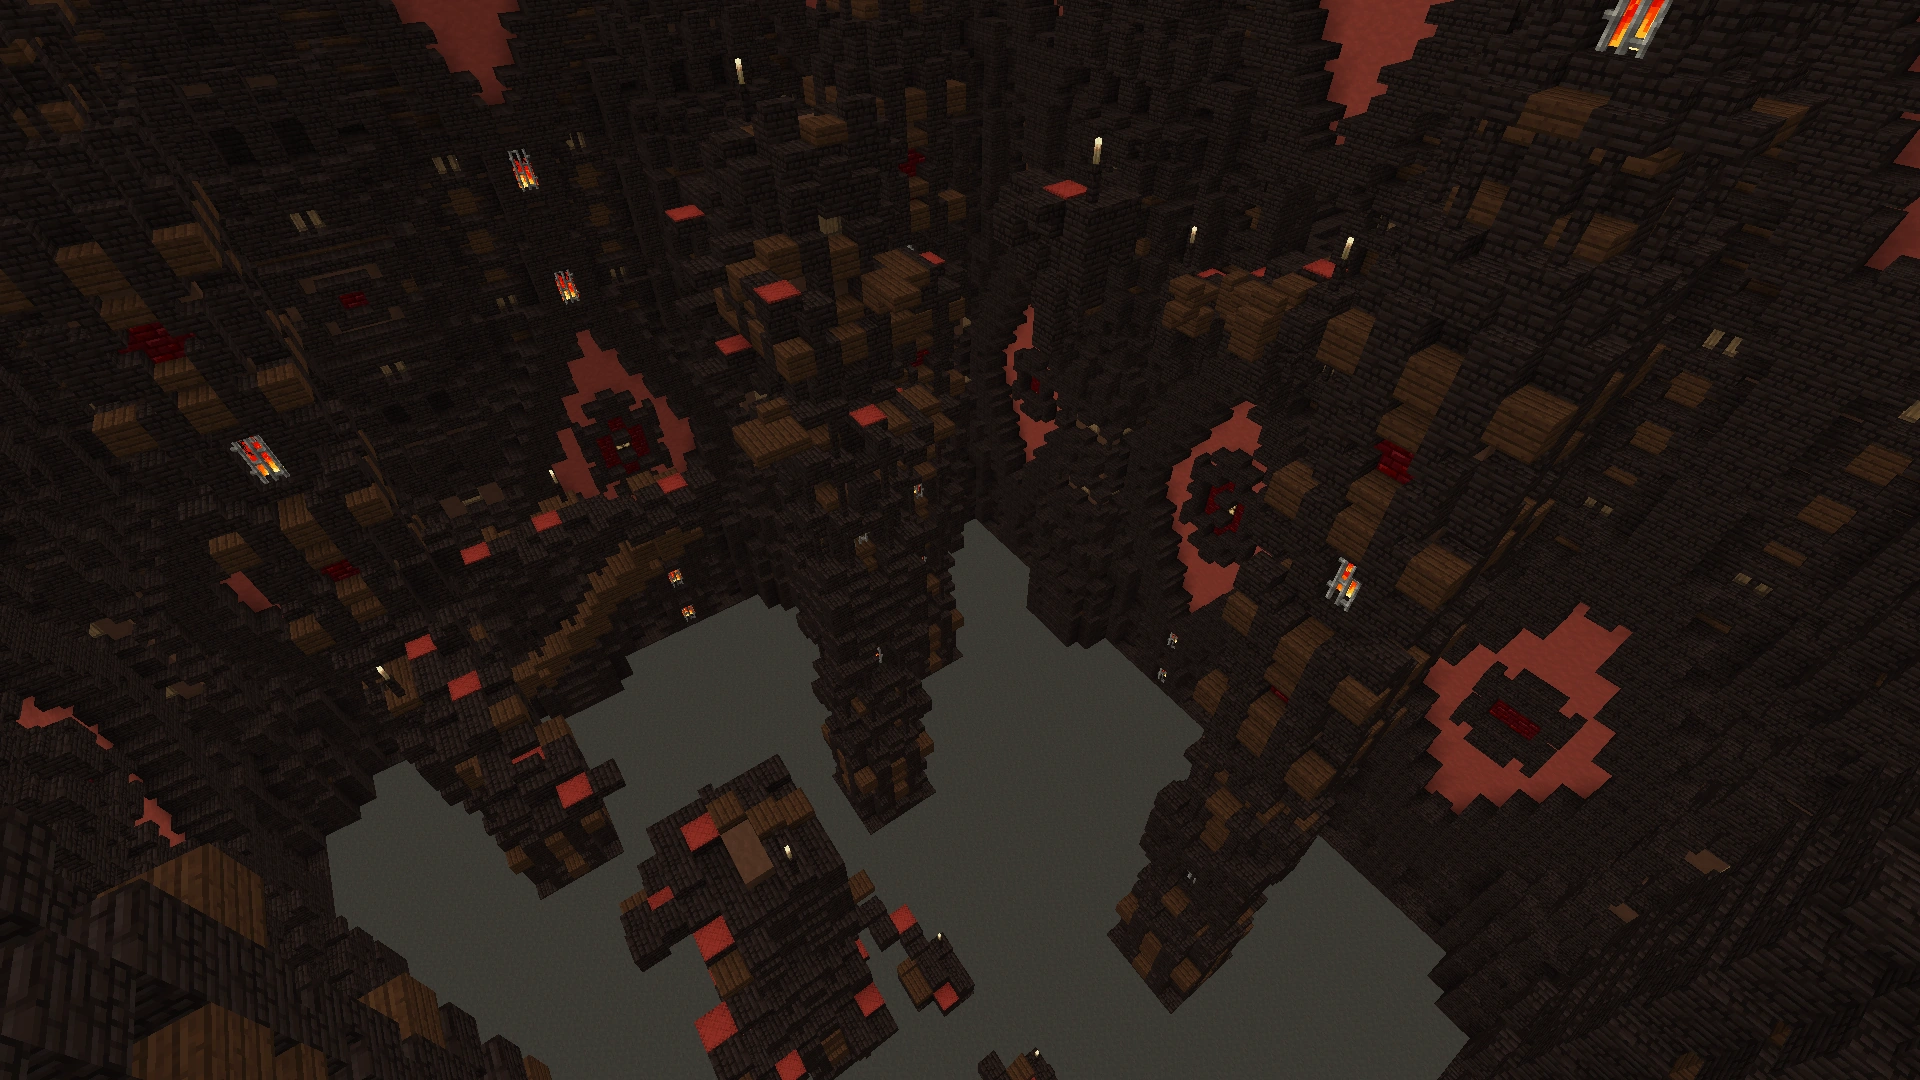
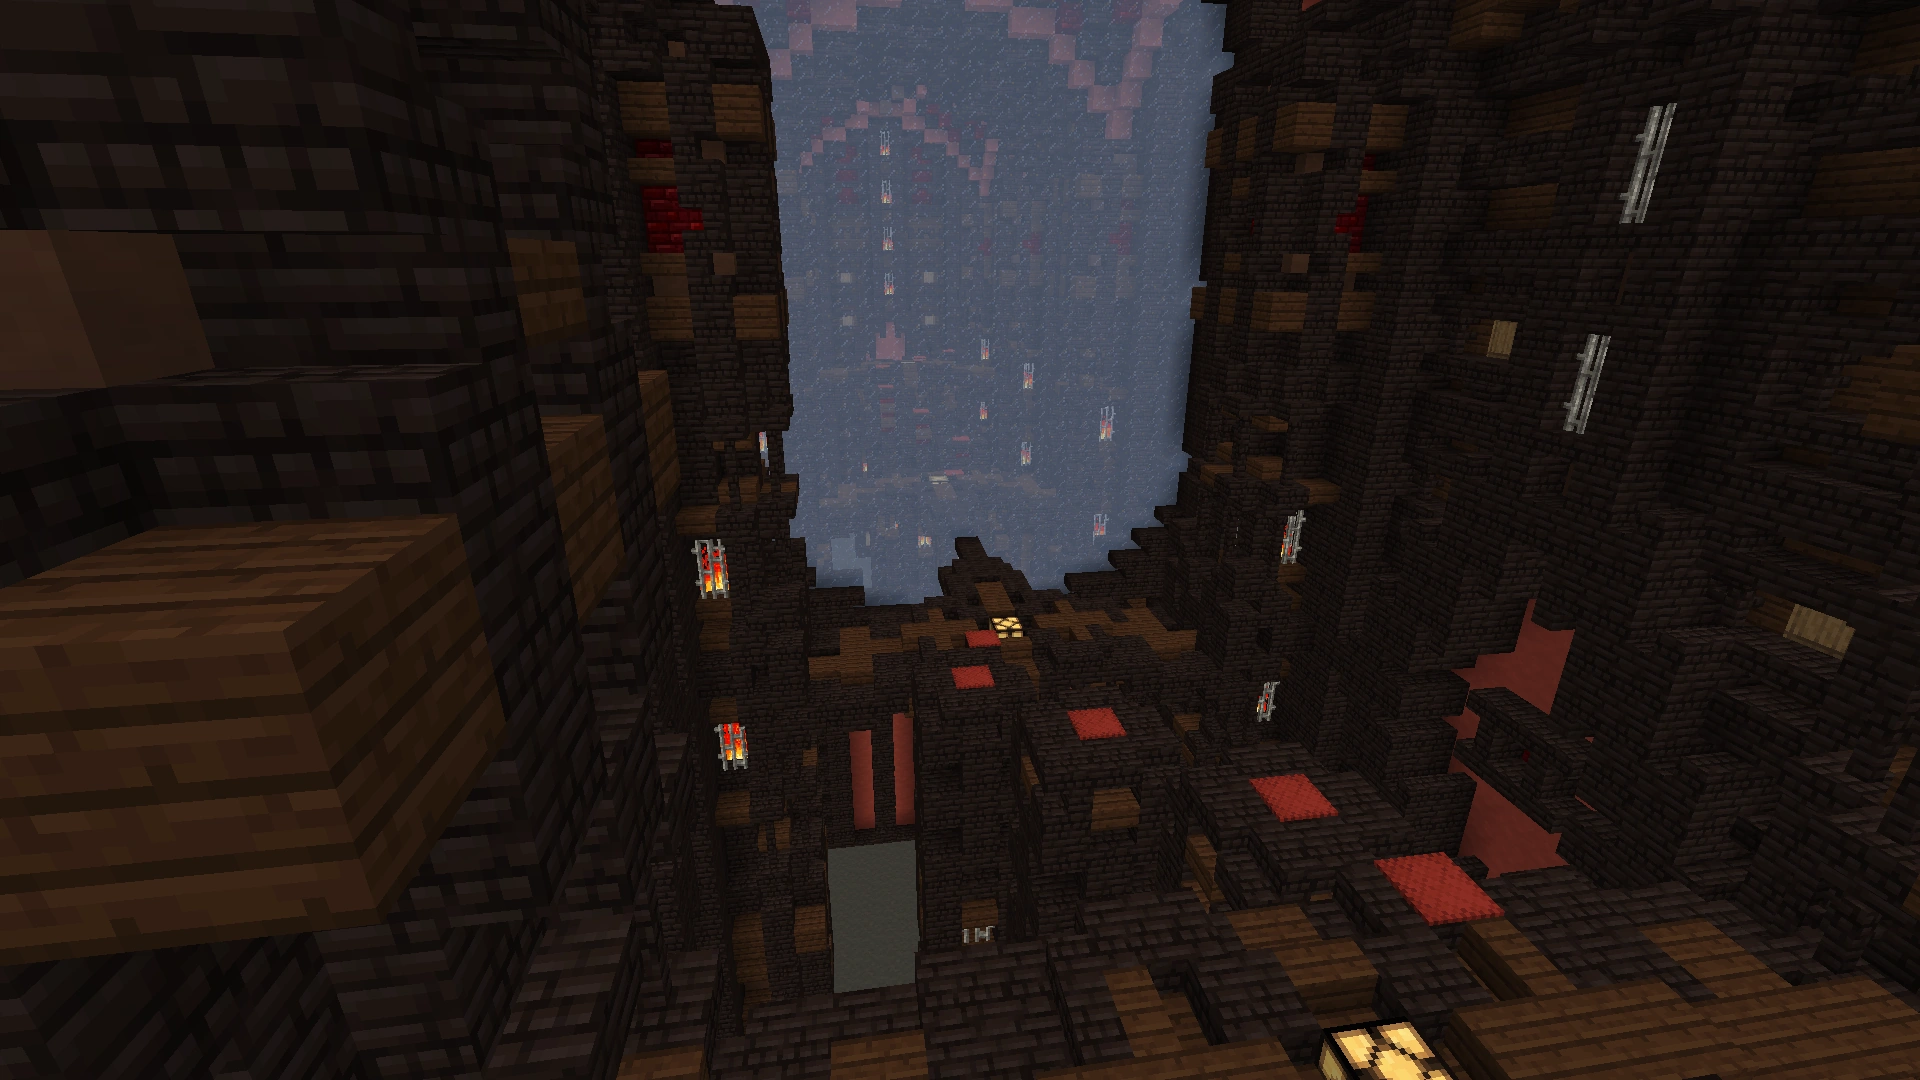
The mysterious tomb lied buried in the sand before Humans ever arrived into the desert from Fruma. Although uncovered, the tomb contains lethal secrets.
Overview[]
This is the corrupted version of the Sand-Swept Tomb Dungeon. It is mechanically identical but has a "corrupted" design, mobs of a higher level and better rewards. It can be accessed by entering its portal at The Forgery.
A list of the items you can purchase with the rewards from this Dungeon can be found on the Dungeon Merchant page.
Guide[]
Room 1[]
Dialogue:
- ???: The fool re--rns... The c-ge s--ll clai- you too.
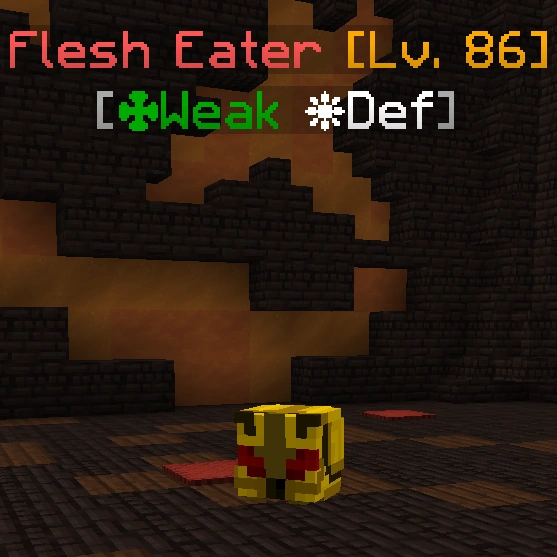
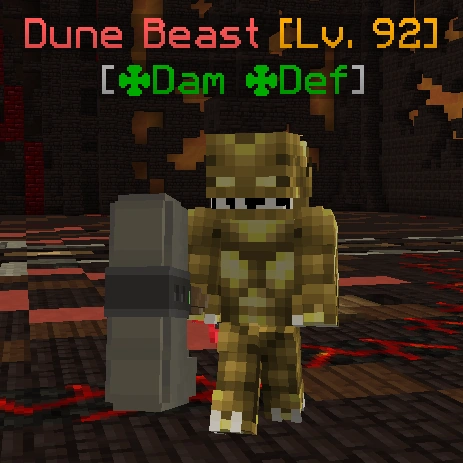
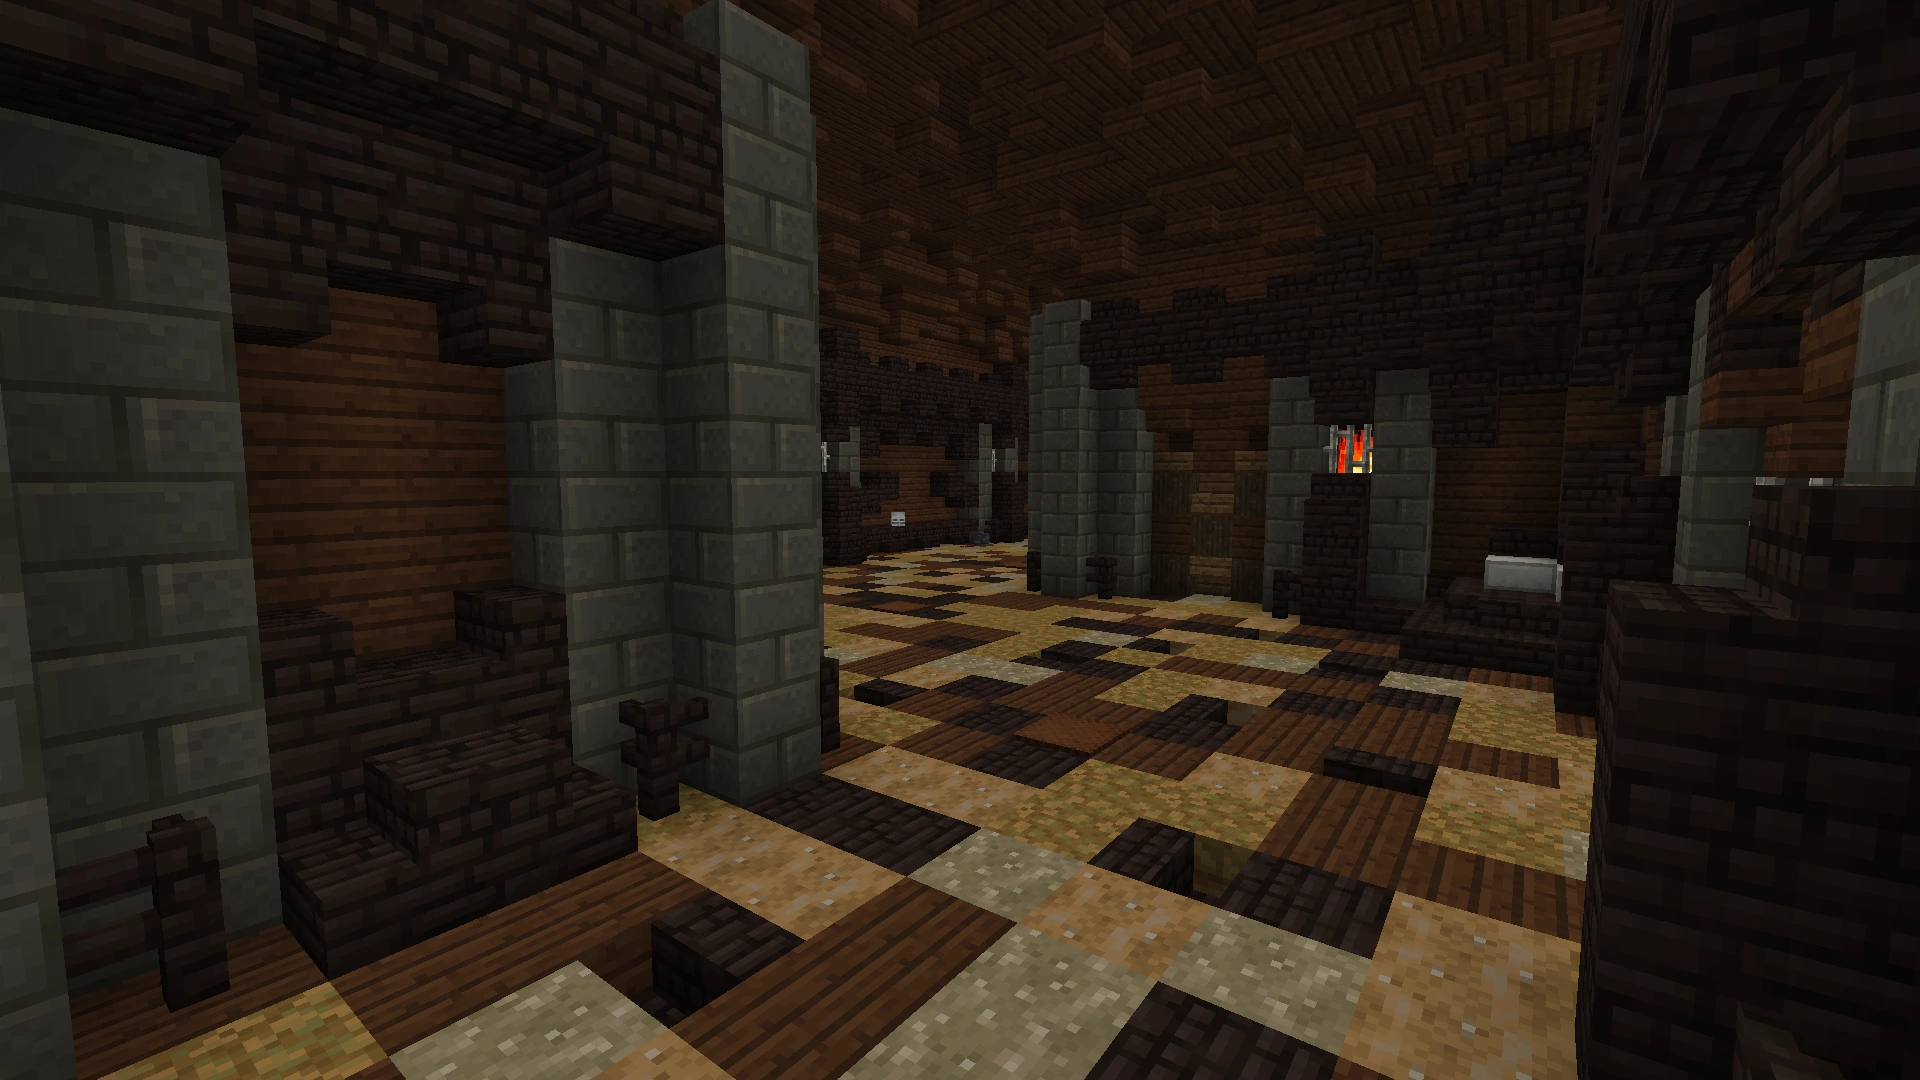
The first room consists of a fighting challenge. When you stand on the pressure plate, you will activate three waves of mobs that spawn every fifteen seconds. The final wave consists only of one miniboss, which drops a token that can be used to enter the next room.
| Image | Name | Level | Health | AI Type | Abilities | Elemental Stats | Drops | Location |
|---|---|---|---|---|---|---|---|---|
|
Flesh Eater | 86 | 6000 | Melee | - | ✤ Weak ❋ Def |
- | First Room First Wave |

|
Dart Flinger | 38 | 460 | Ranged | - | ✤ Dam | - | First Room Second Wave |

|
Dart Flinger | 88 | 7700 | Ranged | - | ✤ Dam | - | First Room Second Wave |
|
Dune Beast | 92 | 31000 | Melee | Pull | ✤ Dam ✤ Def |
Corrupted Sand-Swept Tomb Token | First Room Third Wave |
Room 2[]
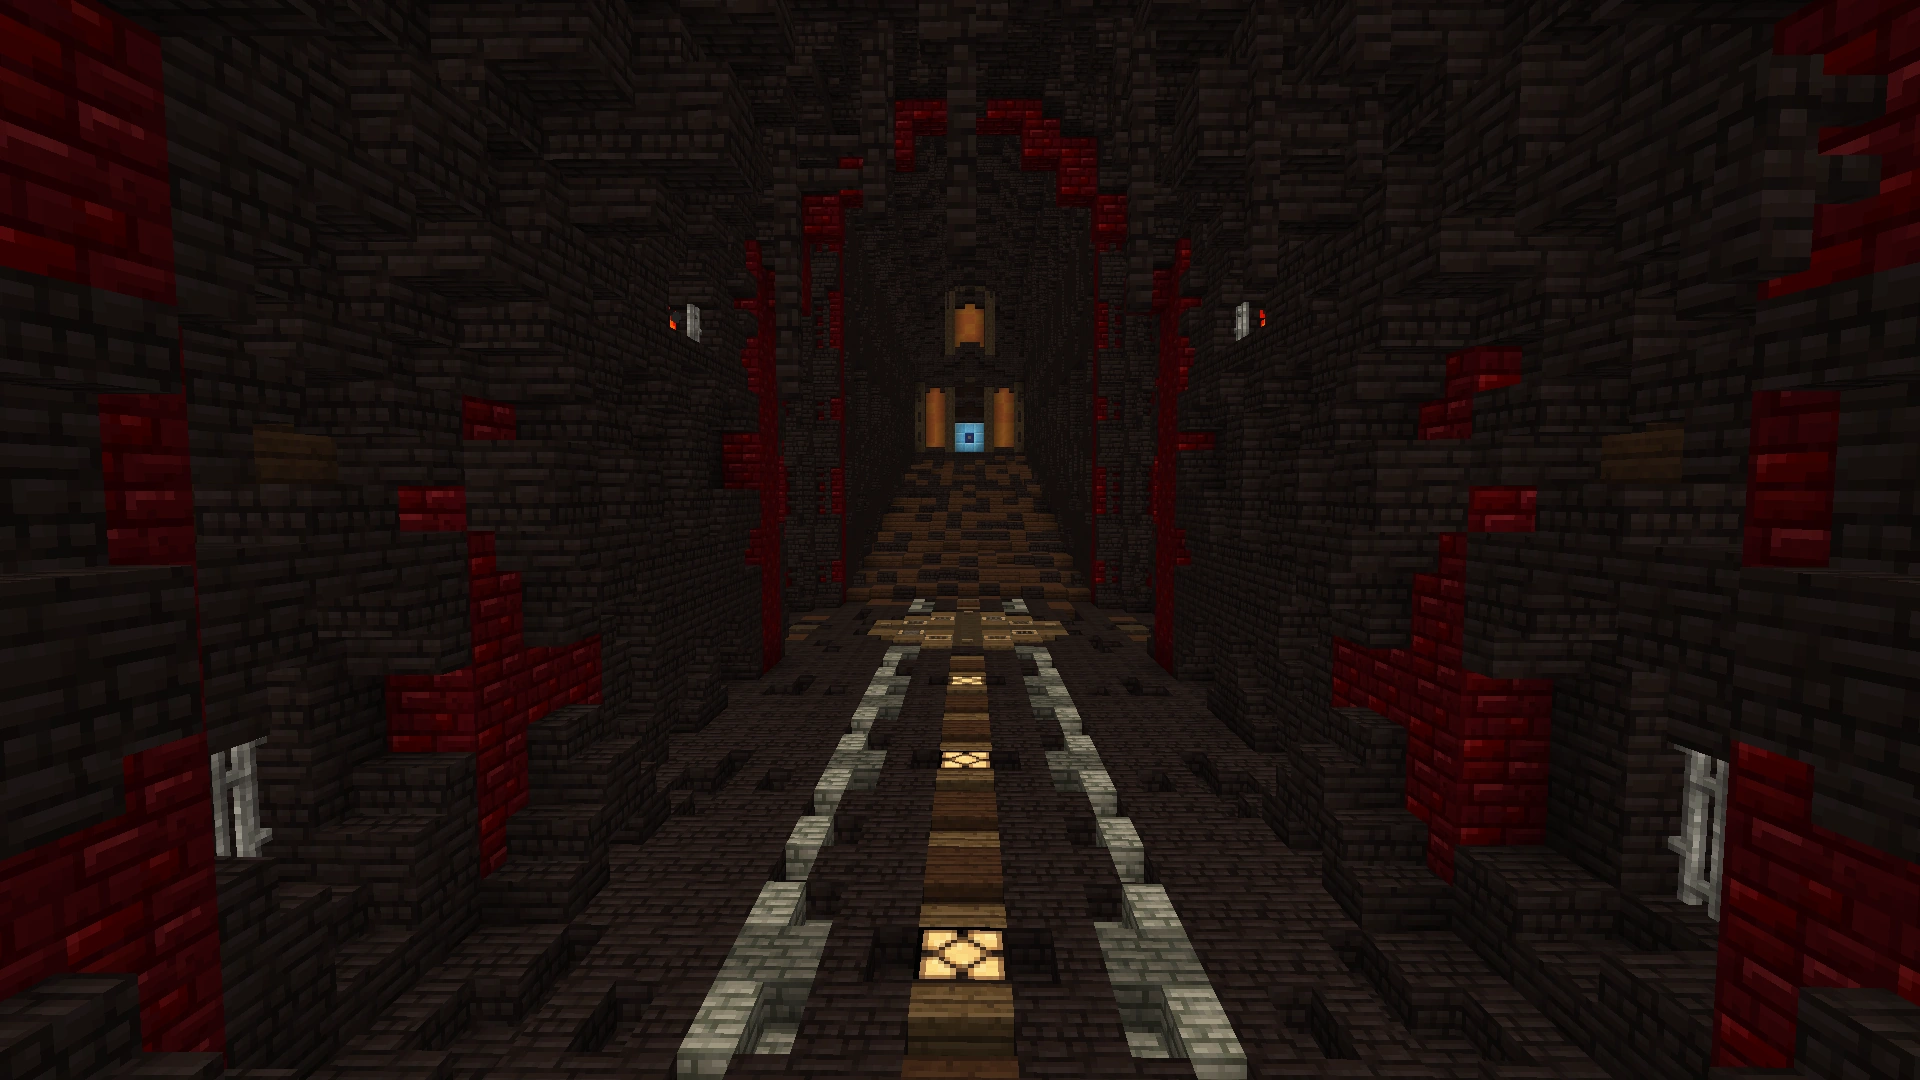
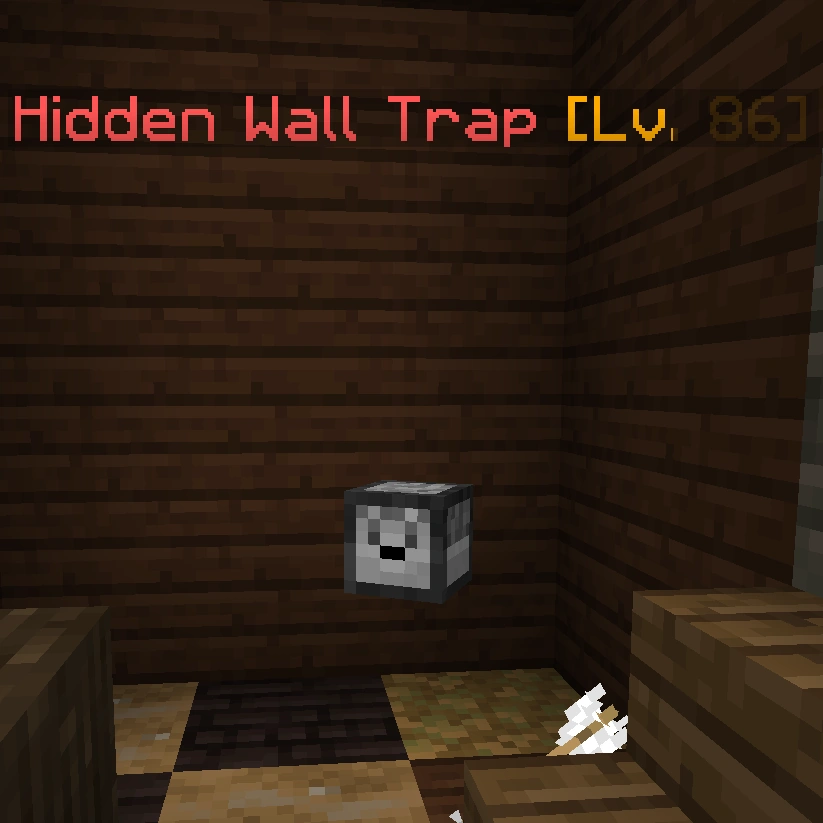
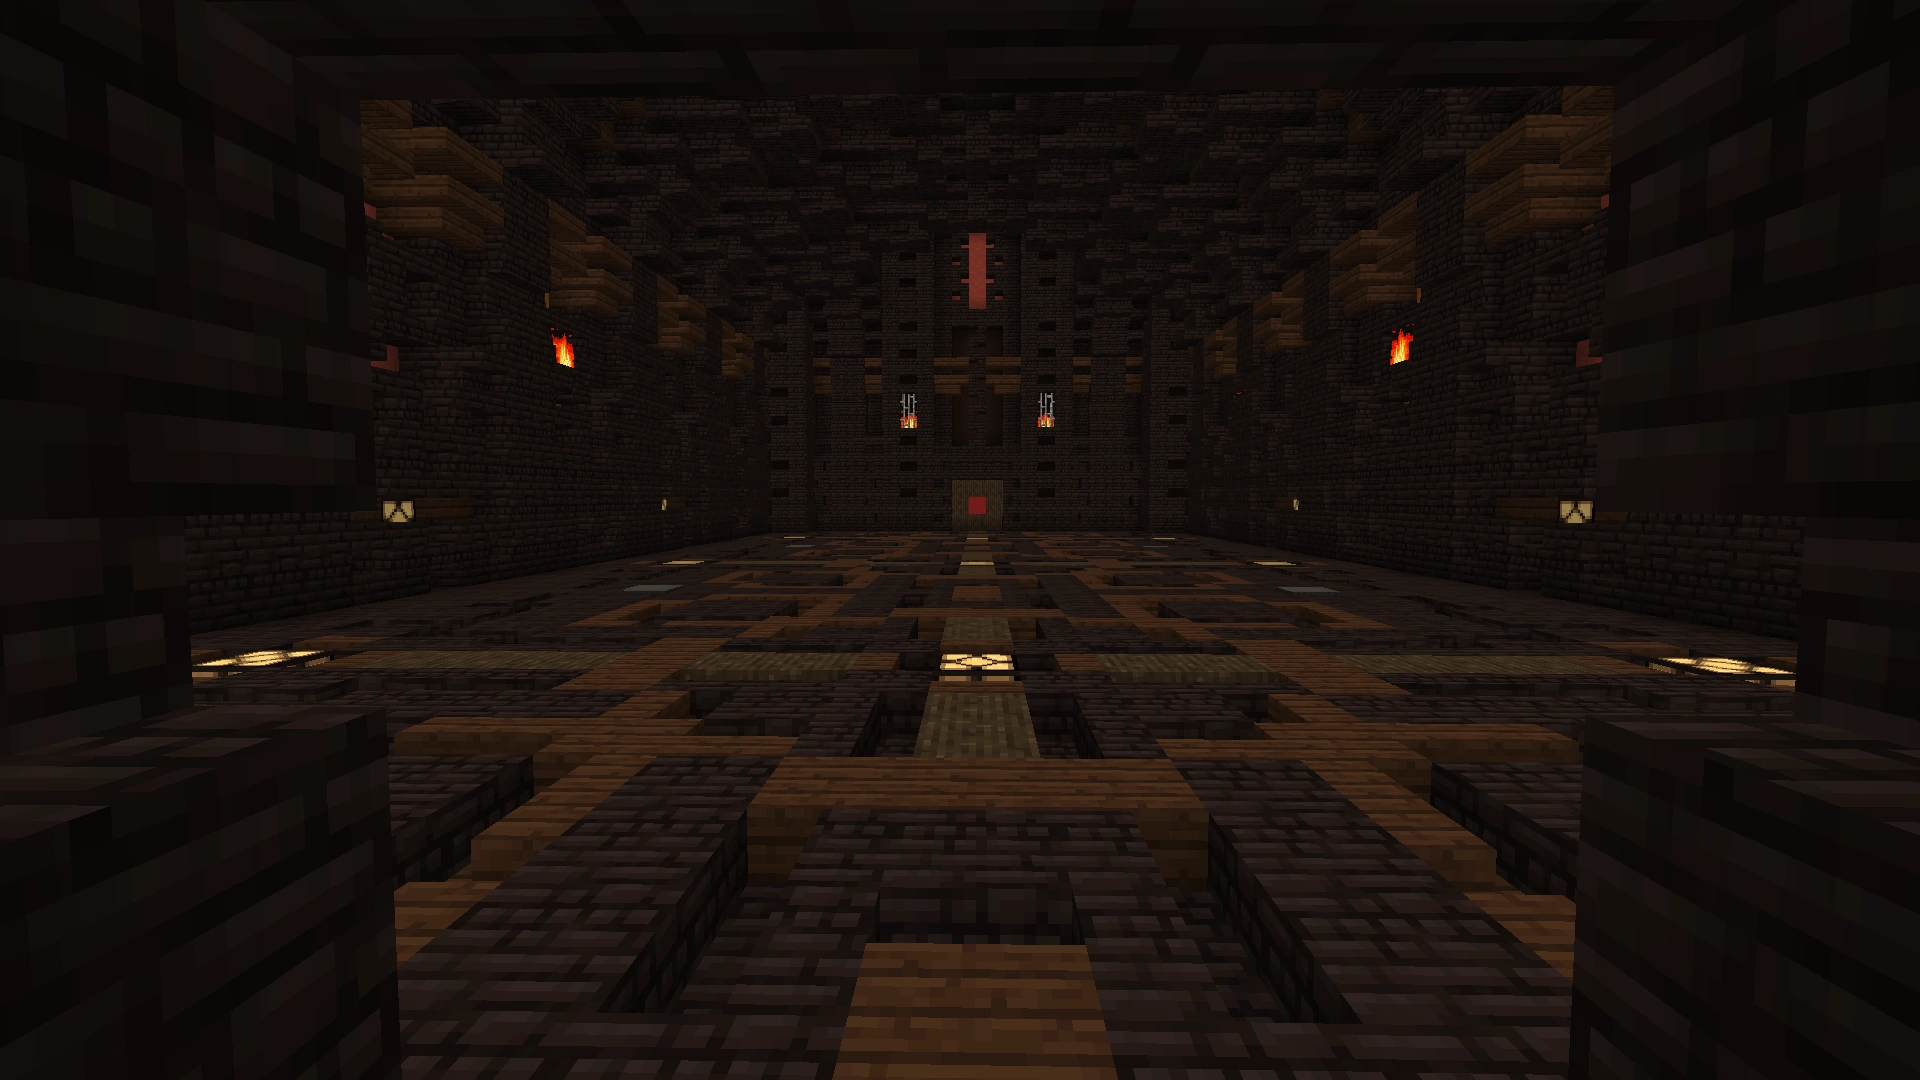
In the second room, you must run down the hallway as ranged mobs appear in the walls and shoot at you. When you press the button at the end, it will open the large wooden trapdoor near the middle of the hallway, which you must run back to.
You must then jump down and run through another hallway with ranged mobs attacking you to advance to the next room.
| Image | Name | Level | Health | AI Type | Abilities | Elemental Stats | Drops | Location |
|---|---|---|---|---|---|---|---|---|
|
Hidden Wall Trap | 86 | Invulnerable | Ranged | - | - | - | Second Room |
Room 3[]
Dialogue:
- ???: The glo--ous sands run red... I c--not understand i-. I cannot understand y-u.
- ???: Yet... New p-wer runs forth at my f-ngert-ps. I may yet save this wre--hed land...
The third room is another fighting challenge. You will be teleported to a randomly selected room where you will fight one of four sets of monsters to gather tokens to advance to the next room. The selected room is randomized for each player, so you may end up fighting alone even if you are in a party.
In this room, you will have to survive three waves of mobs each containing a miniboss, spawning every 15 seconds, and collect a token from the miniboss in the third wave. It is possible to step on the pressure plate again and spawn more mobs during the third wave, so be careful.
| Image | Name | Level | Health | AI Type | Abilities | Elemental Stats | Drops | Location |
|---|---|---|---|---|---|---|---|---|

|
Whirlwind Beast | 90 | 26000 | Melee | Charge | ✹ Weak ❋ Dam ❋ Def |
- | 1 Token Room First Wave, Third Wave |
|
|
Flesh Eater | 86 | 6000 | Melee | - | ✤ Weak ❋ Def |
- | 1 Token Room First Wave |
|
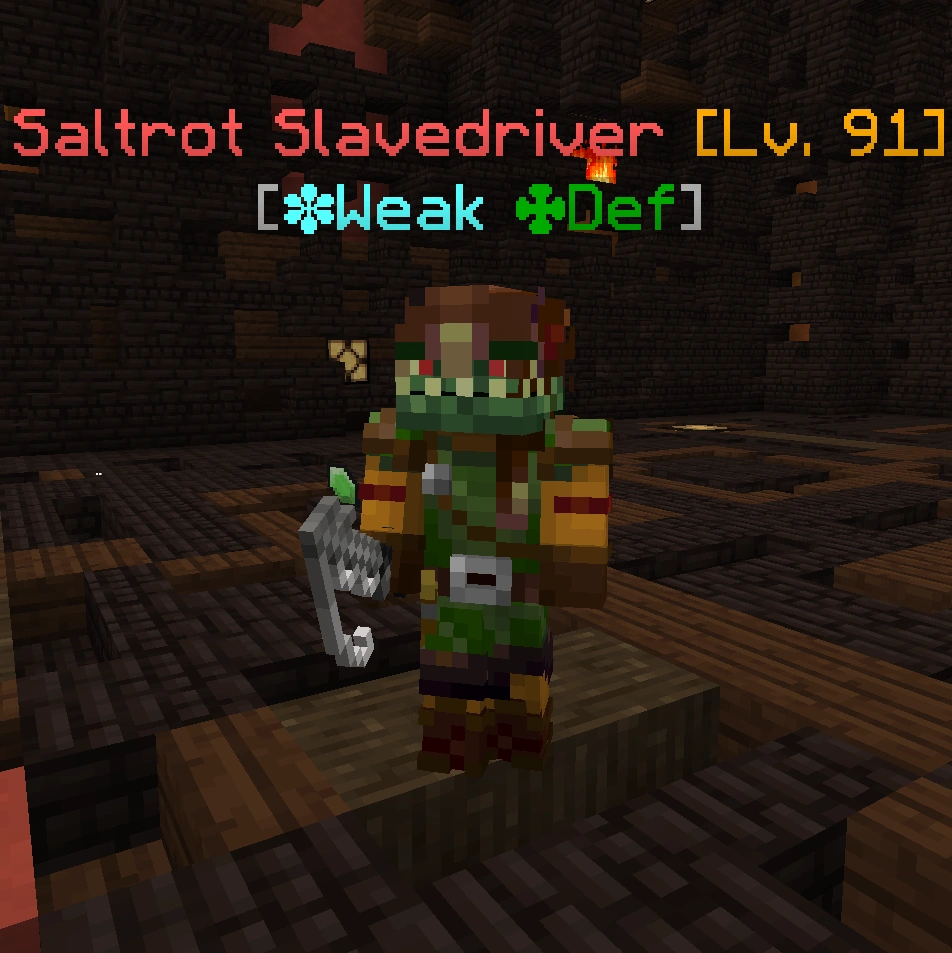
Saltrot Slavedriver | 91 | 33000 | Ranged | Heal | ❉ Weak ✤ Def |
- | 1 Token Room Second Wave |

|
Shambler | 88 | 18000 | Melee | - | - | - | 1 Token Room Second Wave |
|
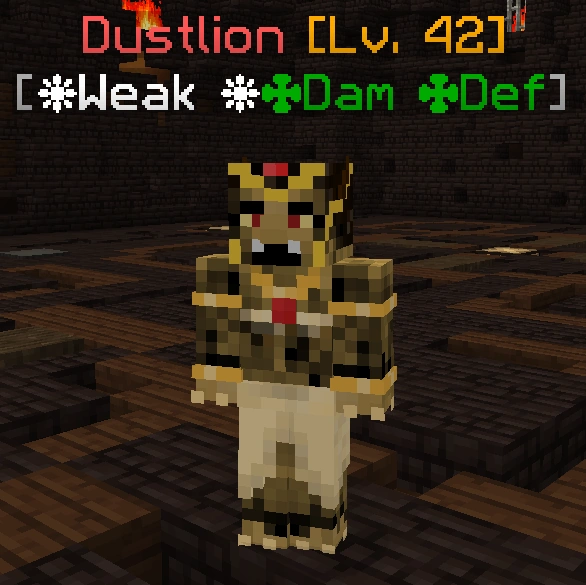
Dustlion | 42 | 31000 | Burst Ranged | Pull, Teleport | ❋ Weak ❋ ✤ Dam ✤ Def |
Corrupted Sand-Swept Tomb Token | 1 Token Room Third Wave |
In this room, you will have to kill 6 Dust Devils while being swarmed by Dustlings.
| Image | Name | Level | Health | AI Type | Abilities | Elemental Stats | Drops | Location |
|---|---|---|---|---|---|---|---|---|
|
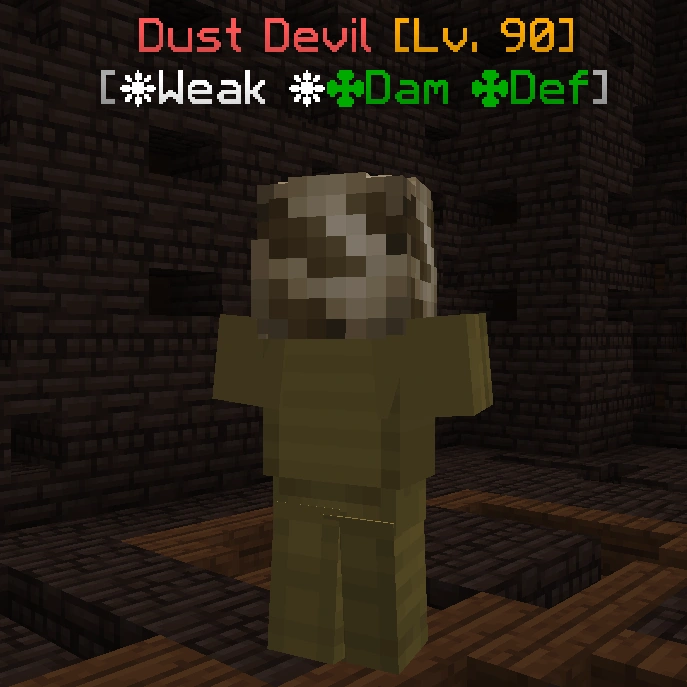
Dust Devil | 90 | 15500 | Melee | Vanish | ❋ Weak ❋ ✤ Dam ✤ Def |
Corrupted Sand-Swept Tomb Token 4 Dustlings |
6 Tokens Room |
|
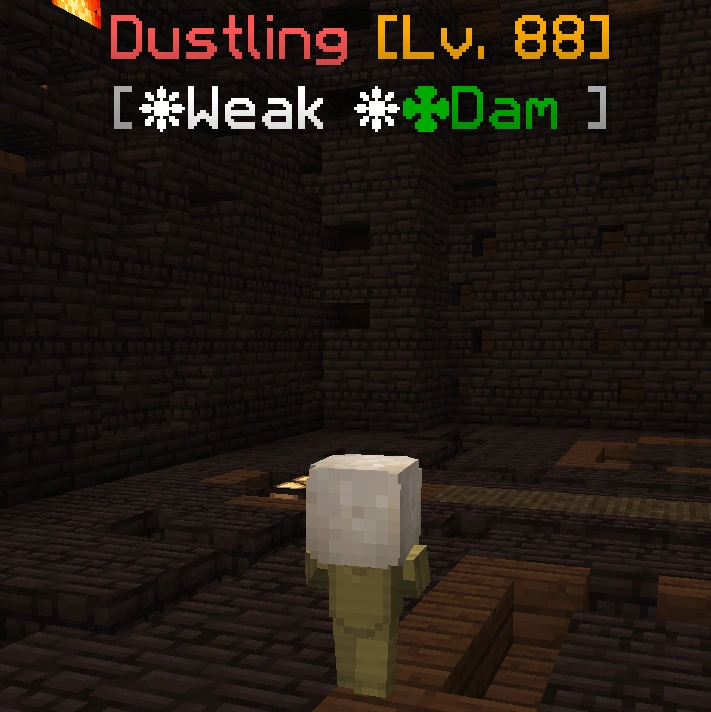
Dustling | 88 | 9000 | Melee | - | ❋ Weak ❋ ✤ Dam |
- | 6 Tokens Room, Dust Devil |
In this room, you will have to kill 15 slowly spawning token mobs while being attacked constantly by hidden wall traps, so you will have to either dodge the attacks or use some form of healing.
| Image | Name | Level | Health | AI Type | Abilities | Elemental Stats | Drops | Location |
|---|---|---|---|---|---|---|---|---|
|
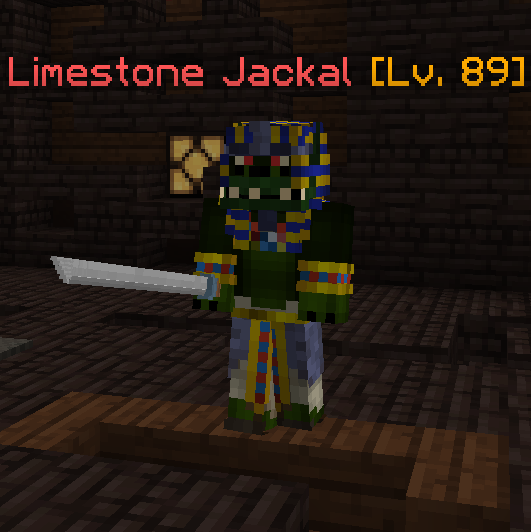
Limestone Jackal | 89 | 9300 | Melee | Charge | - | Corrupted Sand-Swept Tomb Token | 15 Tokens Room |
|
|
Hidden Wall Trap | 86 | Invulnerable | Ranged | - | - | - | 15 Tokens Room |
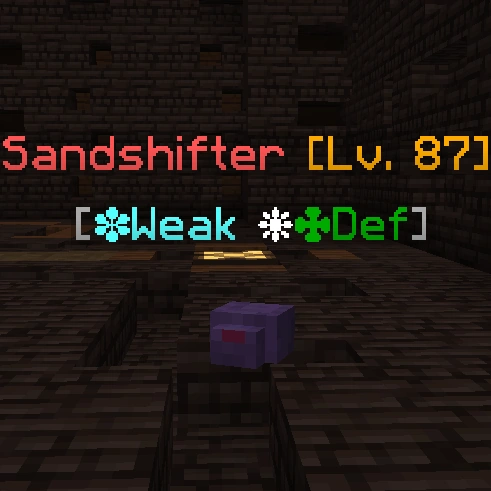
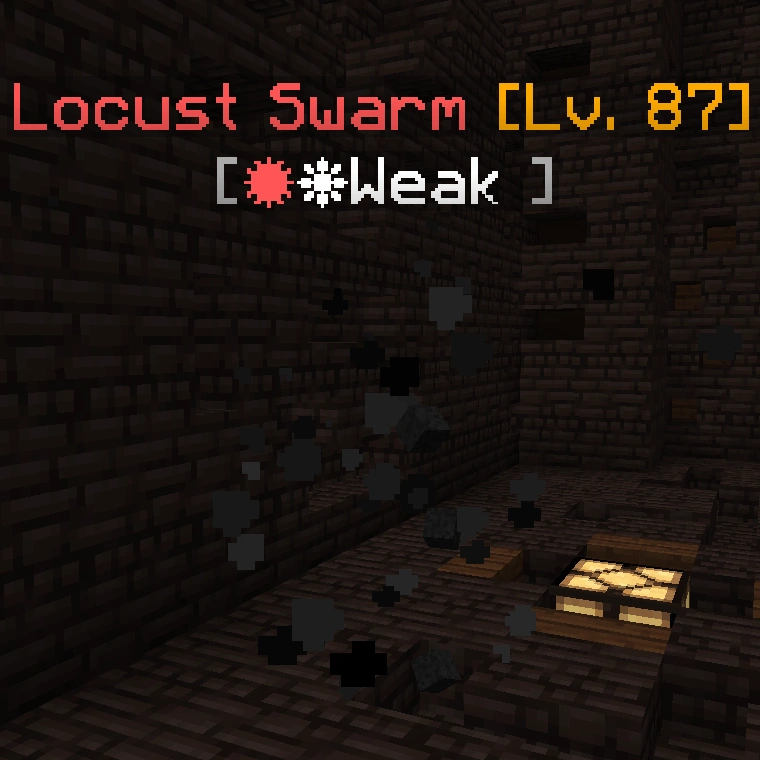
In this room, you will be swarmed by dozens of mobs falling from the ceiling very quickly, but none of them are particularly strong, so they can be killed using area of effect attacks.
| Image | Name | Level | Health | AI Type | Abilities | Elemental Stats | Drops | Location |
|---|---|---|---|---|---|---|---|---|
|
Sandshifter | 87 | 8100 | Melee | - | ❉ Weak ❋ ✤ Def |
Corrupted Sand-Swept Tomb Token | 30 Tokens Room |
|
Locust Swarm | 87 | 6200 | Melee | - | ✹ ❋ Weak | Corrupted Sand-Swept Tomb Token | 30 Tokens Room |
Room 4[]
The fourth room is a parkour challenge. Similarly to the third room, there are multiple possible parkours, and you will be sent to one randomly.
Room 5[]

In the fifth room, after you step on the pressure plate, you have to survive a horde of constantly spawning monsters for 60 seconds until a door opens leading to the next area.
| Image | Name | Level | Health | AI Type | Abilities | Elemental Stats | Drops | Location |
|---|---|---|---|---|---|---|---|---|
|
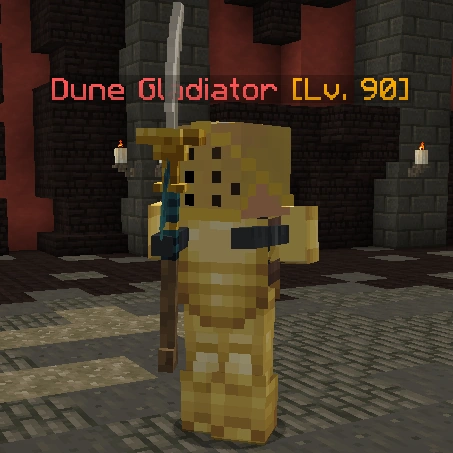
Dune Gladiator | 90 | 9600 | Melee | - | - | - | Fifth Room |
|
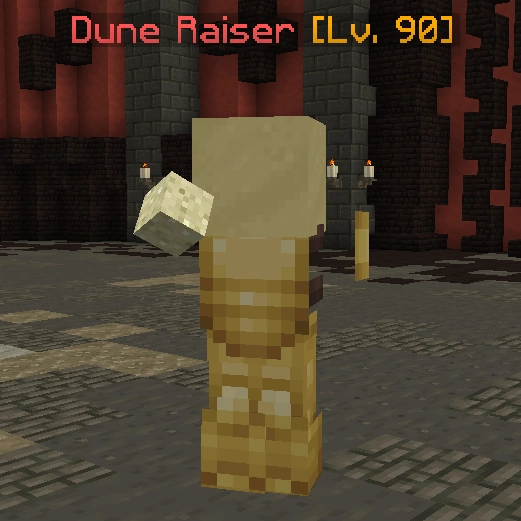
Dune Raiser | 90 | 10550 | Ranged | - | - | - | Fifth Room |
|
|
Shambler | 88 | 18000 | Melee | - | - | - | Fifth Room |
|
|
Dart Flinger | 88 | 7700 | Ranged | - | ✤ Dam | - | Fifth Room |
|
|
Flesh Eater | 86 | 6000 | Melee | - | ✤ Weak ❋ Def |
- | Fifth Room |
Room 6[]
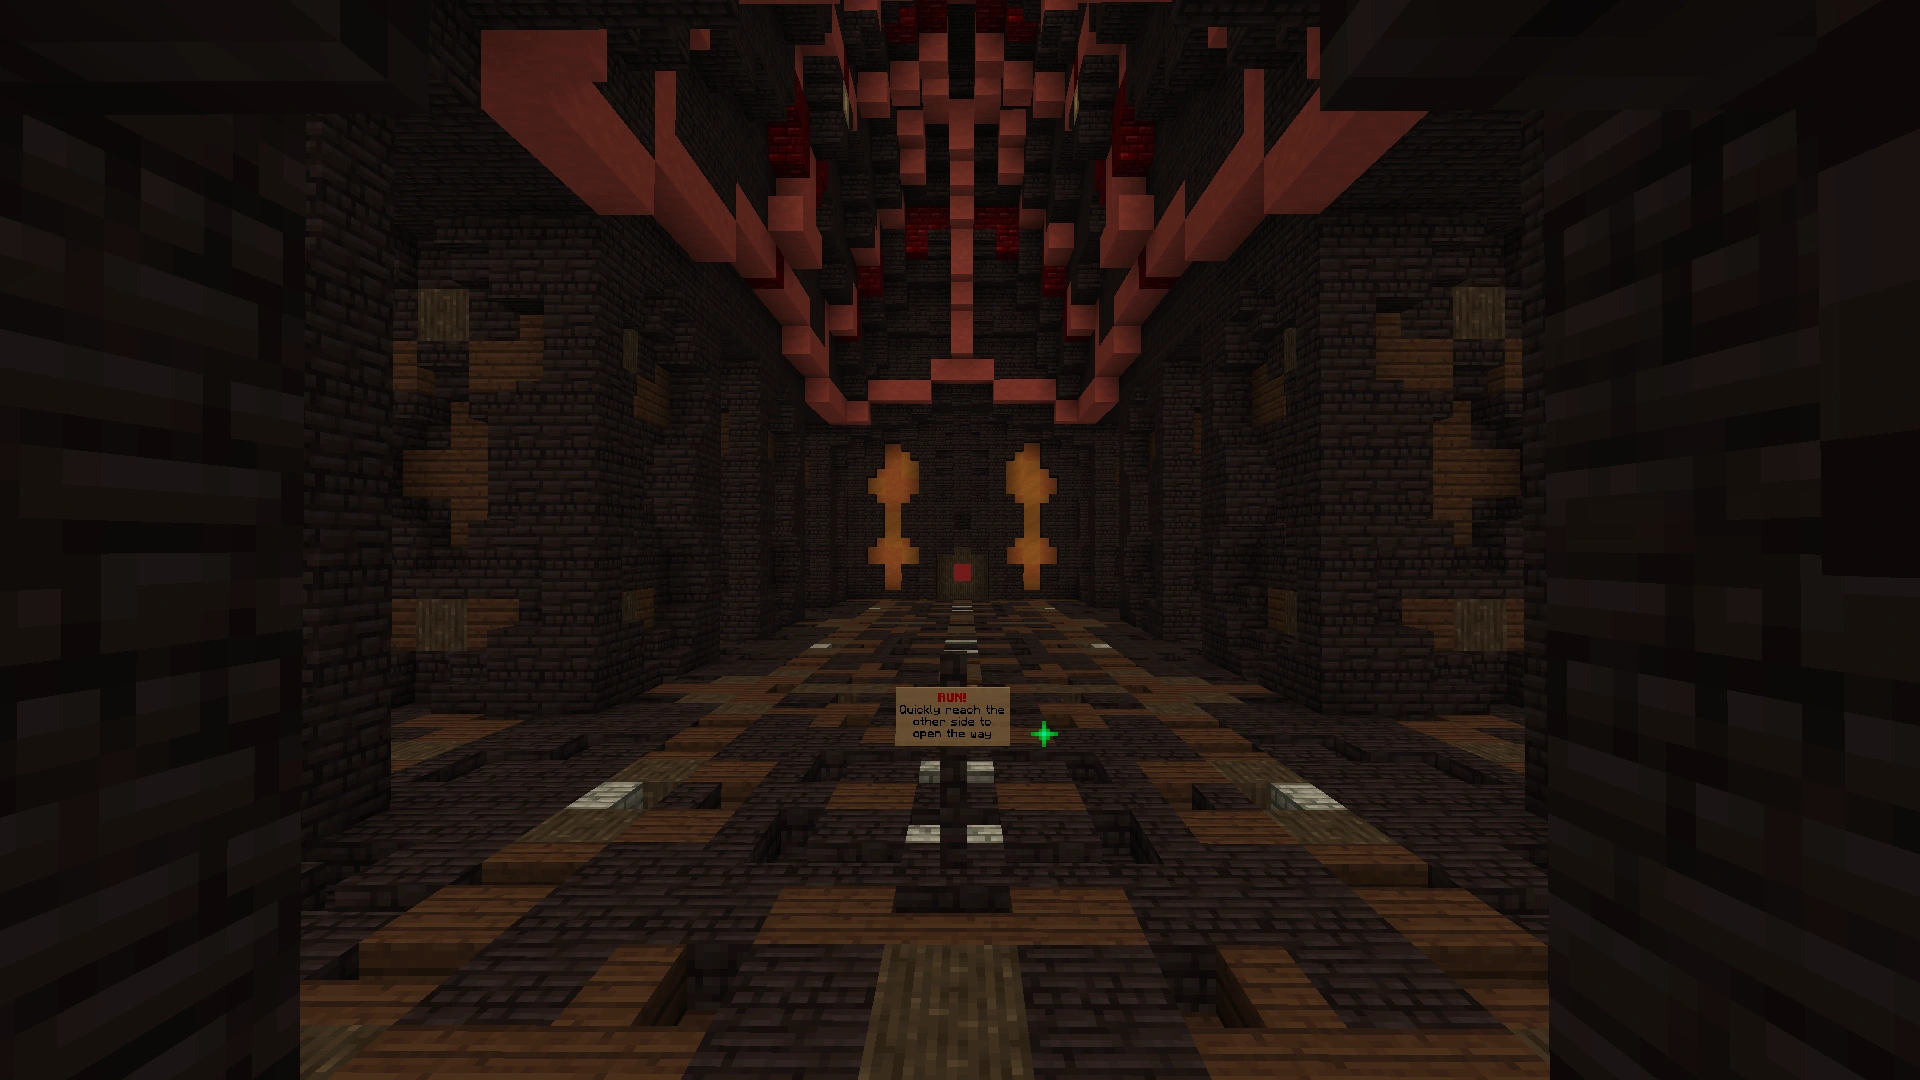
While crossing the sixth room, the ground will crumble beneath you in the middle area (found behind a "RUN" sign), but it is easy to outrun. However, it begins to fall very quickly, so it can be difficult to get large parties across quickly. If you fall, you will be teleported to a room with a large number of hostile mobs, and you have to bring three of their tokens to a door to get back to the main room and try again. Once you have made it to the end, you can enter the boss room.
| Image | Name | Level | Health | AI Type | Abilities | Elemental Stats | Drops | Location |
|---|---|---|---|---|---|---|---|---|

|
The Hungry | 90 | 9600 | Melee | Charge | ✤ Weak | Corrupted Sand-Swept Tomb Token | Sixth Room Underneath Floor |
Boss Room[]
Dialogue:
- Hashr: I w-ll rule the red -ands with this p-wer under my c--tr-l!
The boss of this dungeon is Corrupted Hashr, and the fight is nearly identical to the original Sand-Swept Tomb boss fight. His first phase is weaker than the other two and is fought in the upper section of the boss room. When it is defeated, the floor will break, revealing his second phase below the original room.
| Image | Name | Level | Health | AI Type | Abilities | Elemental Stats | Drops | Location |
|---|---|---|---|---|---|---|---|---|
|
Corrupted Hashr (Phase 1) | 100 | 100000 | Melee | Multihit | - | Corrupted Hashr (Phase 2) | Boss Room Upper Area |
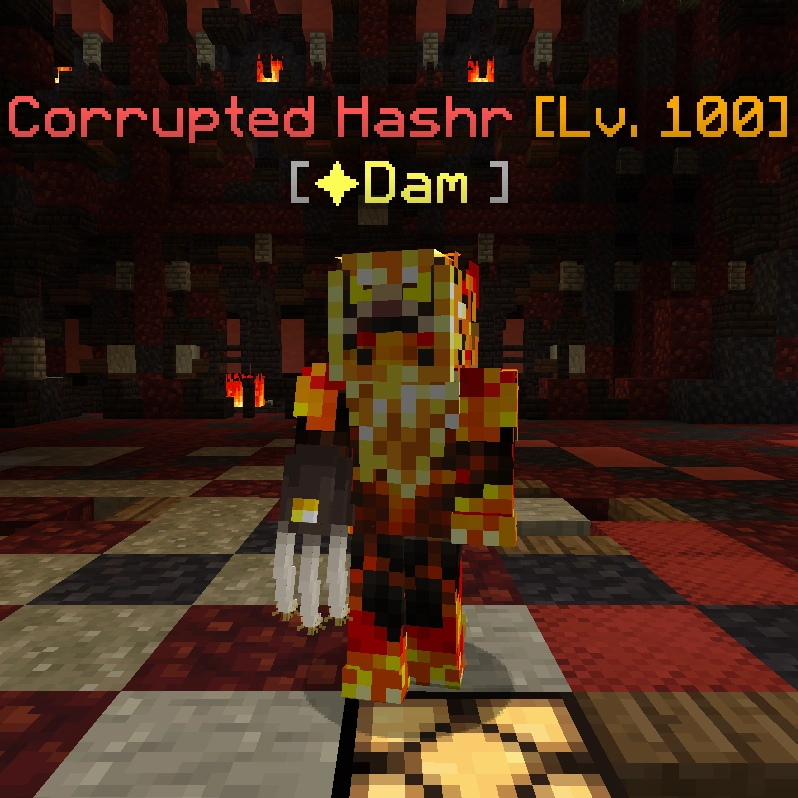
|
Corrupted Hashr (Phase 2) | 110 | 325000 | Melee | Multihit, Charge, Pull | ✦ Dam | Corrupted Hashr (Phase 3) | Boss Room Lower Area |
|
Corrupted Hashr (Phase 3) | 110 | 175000 | Melee | Multihit, Charge, Vanish | ✹ ✦ Dam | 44 Emeralds Corrupted Hashr's Bone 3 Corrupted Sand-Swept Tomb Fragments |
Boss Room Lower Area |
Dungeon Merchant[]
The Dungeon Merchant in front of the Corrupted Sand-Swept Tomb sells:
| Dungeon Merchant Trades | |
|---|---|
| Price | Product |
| 3 Corrupted Hashr's Bone |
1 Corrupted Uth Belt |
| 4 Corrupted Hashr's Bone |
1 Dust Skaters |
| 4 Corrupted Hashr's Bone |
1 Dune Storm |
| 4 Corrupted Hashr's Bone |
1 Golden Scarab |
| 4 Corrupted Hashr's Bone |
1 Lion's Pelt |
| 3 Corrupted Hashr's Bone |
1 Sacramentalia |
| 6 Corrupted Hashr's Bone |
1 Infidel |
| 6 Corrupted Hashr's Bone |
1 Plague |
| 6 Corrupted Hashr's Bone |
1 Manna |
| 6 Corrupted Hashr's Bone |
1 Judas |
| 6 Corrupted Hashr's Bone |
1 Salpinx |
| 2 Corrupted Sand-Swept Tomb Fragment |
1 Dungeon Teleport Scroll |
| 8 Corrupted Sand-Swept Tomb Fragment 32 Emerald Block |
1 Gathering Axe T10 |
| 8 Corrupted Sand-Swept Tomb Fragment 32 Emerald Block |
1 Gathering Pickaxe T10 |
| 8 Corrupted Sand-Swept Tomb Fragment 32 Emerald Block |
1 Gathering Scythe T10 |
| 8 Corrupted Sand-Swept Tomb Fragment 32 Emerald Block |
1 Gathering Rod T10 |
Trivia[]
- This dungeon (usually abbreviated as CSST for simplicity) is commonly used as a popular endgame grinding spot, done in massive parties with double experience and free dungeon entrance bombs bought by the party's leader from the Wynncraft Store.
- In the 1.18 update, both the corrupted and normal sand-swept tomb dungeons were changed to be longer and have randomized rooms, making them harder to do in parties.